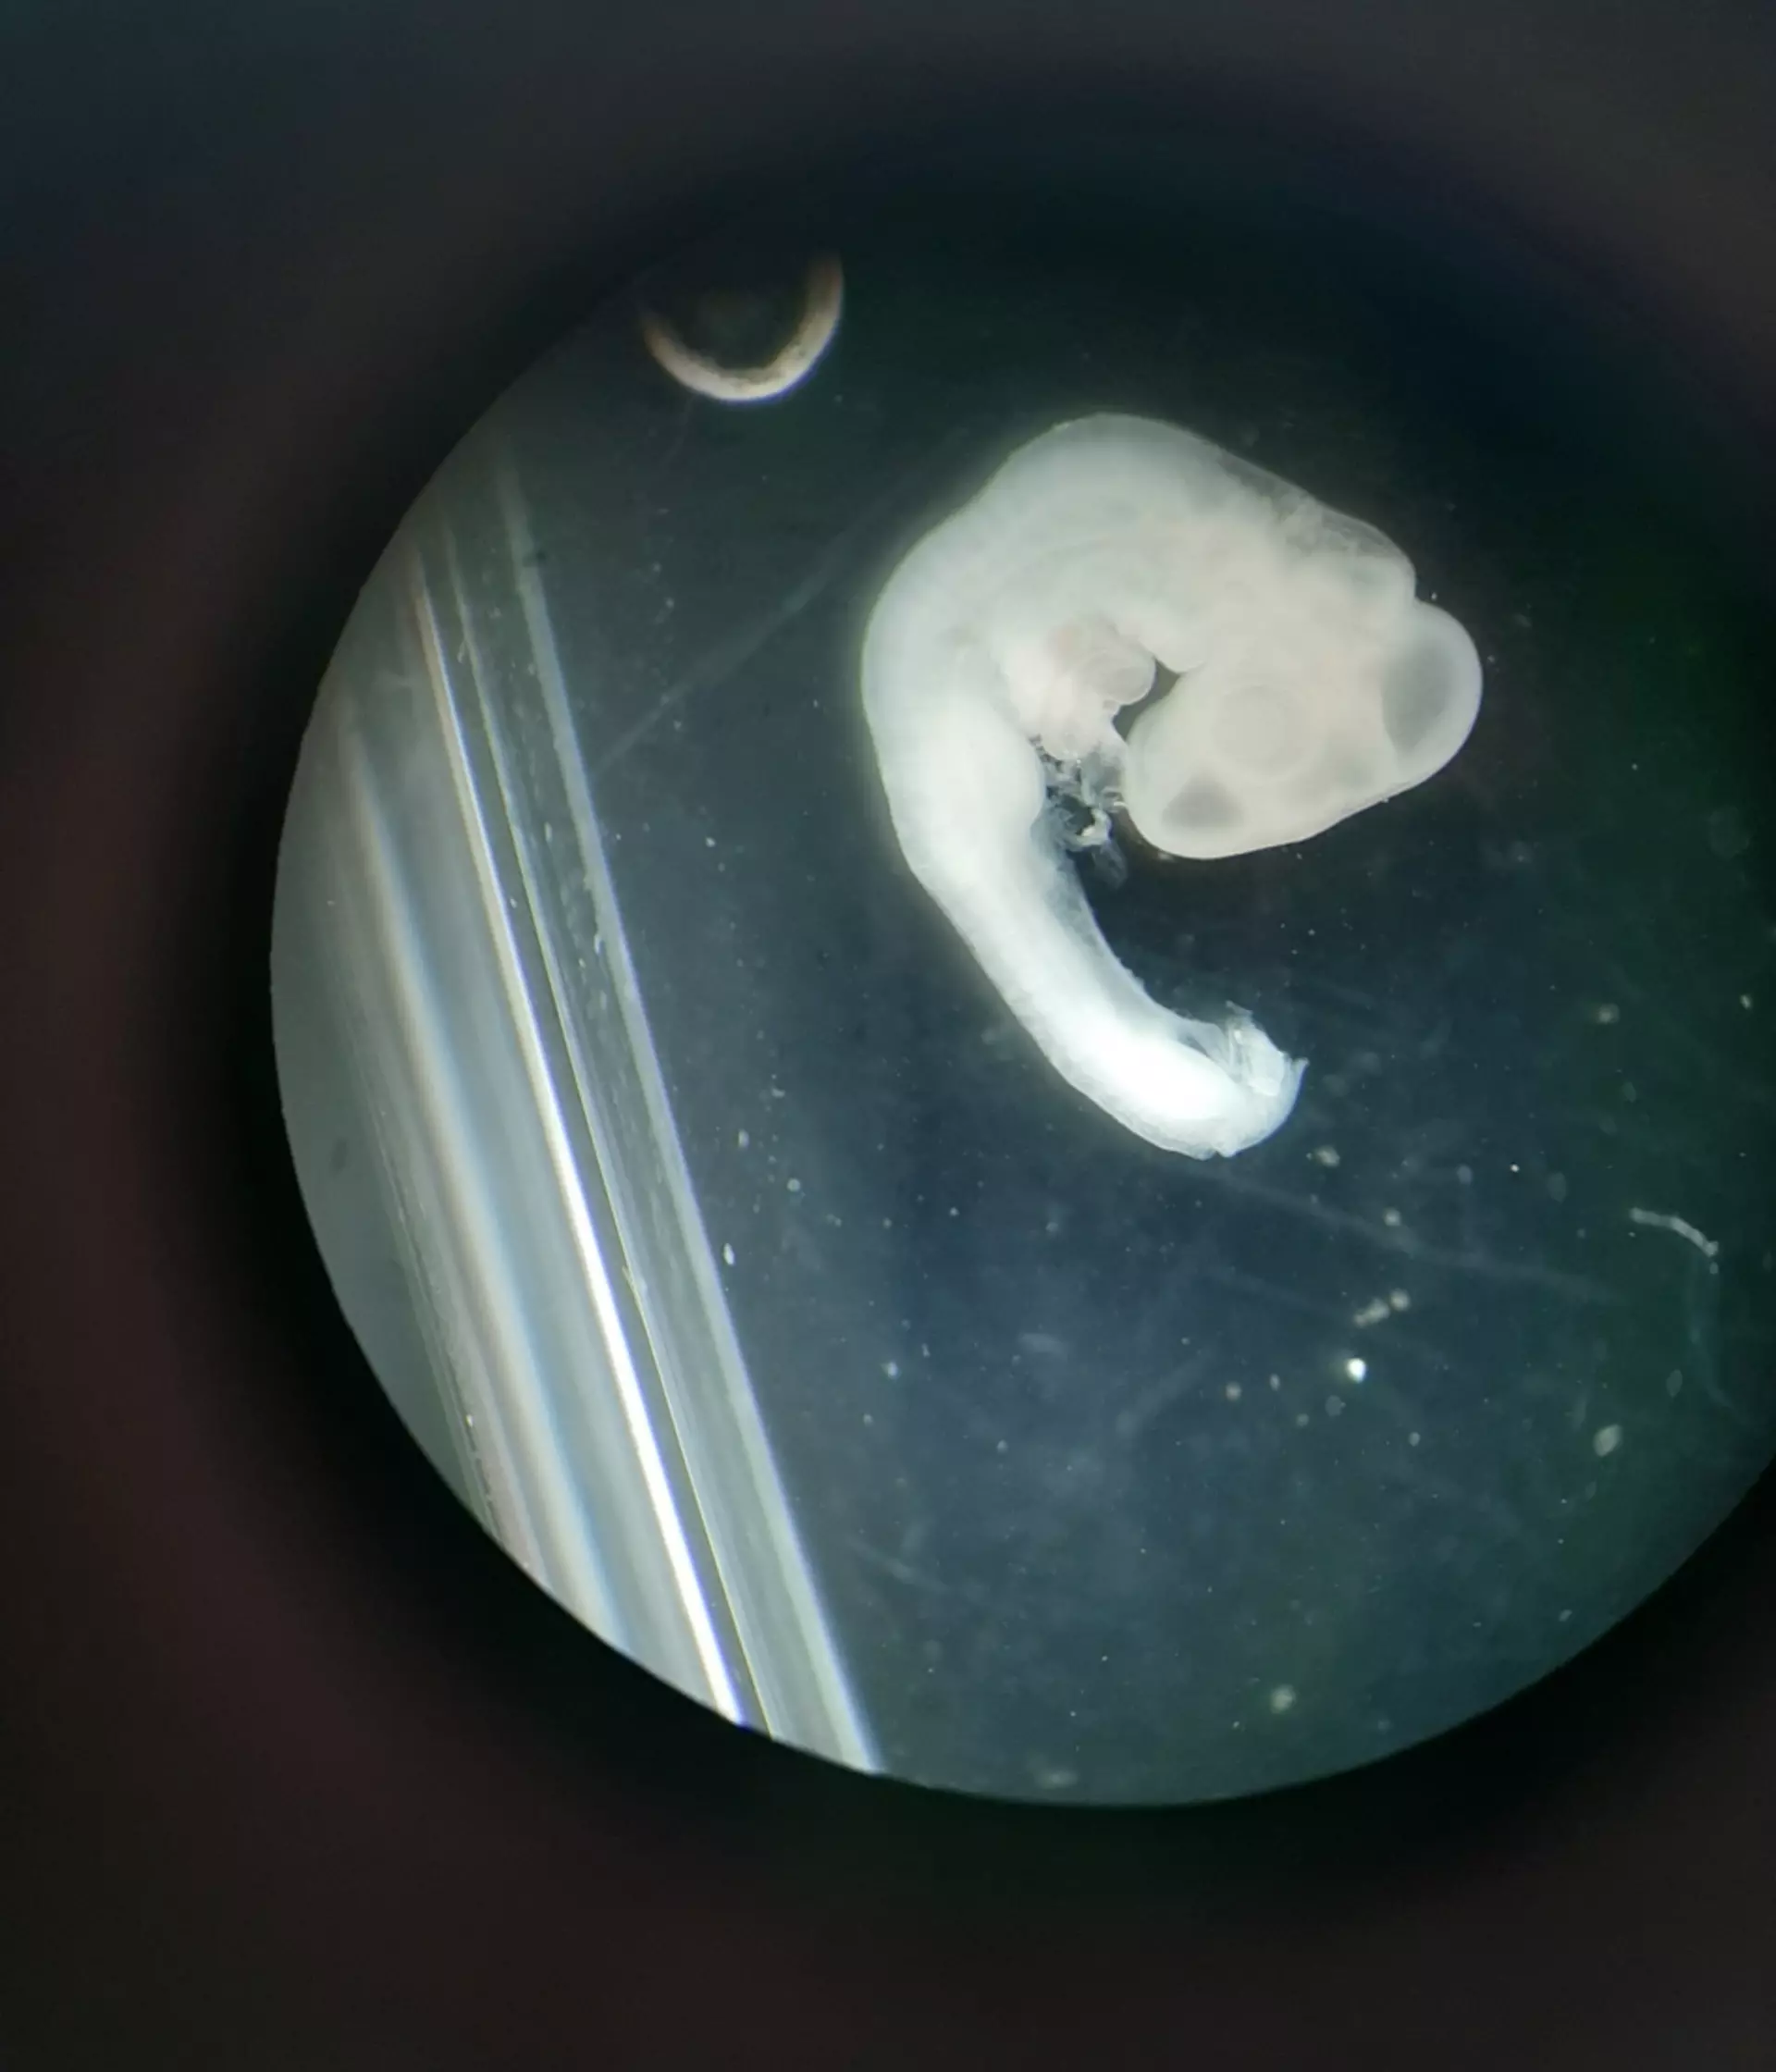
The problem of unhatched eggs
Egg hatching failure is a major problem for many bird species. Small, threatened populations are particularly vulnerable, with rates of hatching failure sometimes exceeding 70%. But larger populations of common birds and domestic poultry species are also affected, with an average failure rate of 10% across species.
Egg hatchability can therefore be considered a weak link in the chain of events that determines reproductive success in birds. Despite this, the causes of hatching failure remain poorly understood, presenting significant issues for conservation managers working with birds under risk of extinction. Understanding why eggs fail is crucial for the success of these captive and/or wild breeding programmes.

Our findings
In a review published in the journal Animal Conservation, we synthesised what is currently known about the causes of hatching failure, highlighted management interventions that may reduce it, and identified gaps in our understanding of reproductive function in birds. Here, we complement this review with a set of openly accessible practical resources aimed at facilitating a clearer understanding of fertility, embryo development, and hatchability problems for anyone working with breeding birds as part of conservation management or captive breeding programmes, as well as other ornithological projects. We hope that these methodological tools will stimulate further research into the causes of egg failure across a wide range of species, ultimately informing and improving conservation outcomes.
Written protocol for assessing the fertility of unhatched eggs
The following protocol can be used on fresh, degraded and formalin preserved eggs that show no visible embryonic development. The purpose is to identify:
- The presence of sperm cells on the perivitelline layer to determine if sperm reached and penetrated the ovum
- Embryonic cells in the germinal disc to determine if fertilisation and embryogenesis occurred
Protocol
1. Prepare the Hoechst fluorescent DNA stain solution
In a sterile Eppendorf tube (or similar) dilute 1μl of concentrated Hoechst in 10μl of distilled water to make a stock solution. In a separate sterile vessel, dilute 1μl of stock solution in 100μl of phosphate buffered saline solution to make the working solution. Keep both stock and working solutions refrigerated and away from light at all times e.g., by covering the containers with foil. The concentration of the working solution can be adjusted up or down according to your requirements, as samples can vary in staining efficacy. It is recommended that Hoechst stain solutions are tested prior to use on important samples e.g., on a mouth swab or other known source of cells/DNA.
Health and safety note: Hoechst dye is a known mutagen and contact with skin should be avoided by the use of appropriate PPE. Please ensure you read all the relevant safety documentation supplied with the product.
2. Open the egg
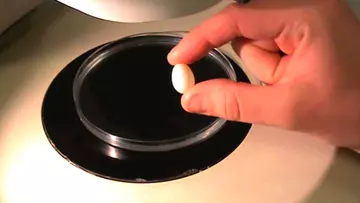
Carefully open the eggshell. For small eggs (e.g., those of songbirds), trace the point of the fine forceps around the diameter of the eggshell until it can be opened with the forceps or fingers. For larger eggs with thicker shells, use scissors to cut through the shell or carefully crack the shell on a hard surface. Once opened, empty the egg contents into a petri dish. If examining a formalin preserved egg, carefully drain off any excess formalin in a fume hood or well-ventilated area and dispose of the formalin appropriately before placing the egg contents into a petri dish. Submerge the egg in phosphate buffered saline solution.
Health and safety note: Formalin is an irritant and may be carcinogenic. Contact with skin and inhalation of fumes should be avoided. Please ensure you read all the relevant safety documentation supplied with the product.
3. Locate the germinal disc

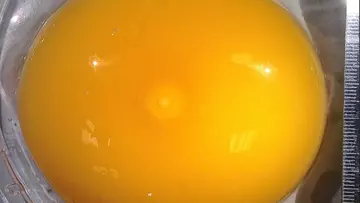
Fertilisation and embryogenesis occur at the germinal disc. It is therefore important to locate the germinal disc in order to look for embryonic cells. The germinal disc appears as a white disc on the yolk surface. Its appearance can vary depending on whether the egg has been fertilised and how much development has taken place. The integrity of the germinal disc can also deteriorate over time, making it difficult to identify/extract. Extra information on dealing with very degraded egg samples is provided at the end of the next step.
4. Extract the germinal disc

If the yolk is intact and the germinal disc can be seen, use fine dissecting scissors to cut out a section of perivitelline layers (which hold the yolk together) overlaying the germinal disc. If the egg is large, this may involve cutting a square section overlaying the germinal disc, but if the yolk is small (e.g., songbird size), it may be easier to simply position the yolk with the germinal disc on top, and then cut the yolk in half horizontally. Working quickly, take hold of the edge of the perivitelline layers with your forceps and gently peel it away from the yolk to expose the germinal disc. Place the section of the perivitelline layers to one side (in phosphate buffered saline solution) and then slide the hair-loop under the germinal disc, lifting it away from the yolk. Using a stereomicroscope (dissecting microscope), carefully remove excess yolk material from the germinal disc using the hair loop, leaving only white matter. Use a pipette to transfer the germinal disc onto a microscope slide – we recommend using an automated P20 pipette (e.g., Gilson) set at 10µl.
Working with a very degraded sample? If examining a very degraded egg, the yolk and perivitelline may not be intact, making it difficult to locate the germinal disc. If this is the case, dilute the egg contents with plenty of phosphate buffered saline solution and use your forceps to fish out as many pieces of perivitelline layer as possible. Once you have located as much material as possible, move onto step 5.
5. Prepare the perivitelline layers
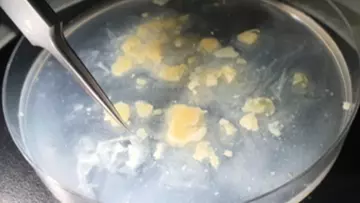
Using the hair loop, gently clean any yolk material from the perivitelline layer section(s) that you have cut out or retrieved. Place them onto the microscope slide and smooth out gently using the hair loop and/or forceps until they lie flat. Note that the perivitelline layer is made up of two layers, the inner and outer perivitelline layer. The inner layer binds the ovum at ovulation, and sperm need to penetrate this layer by dissolving holes in it using enzymes contained in their acrosome. The outer layer forms approximately 15 minutes after ovulation, and this traps any other sperm surrounded the ovum at the time. The two layers usually stay stuck together, but sometimes they start to come apart (and in some species, like passerines, they are relatively easy to peel apart if you want to examine them separately). They can be examined together or separate – whichever is preferred – but take care not to lose a layer when removing and cleaning the samples. In degraded samples, the inner perivitelline layer has sometimes disintegrated completely, in which case it is possible to look for sperm trapped in the outer perivitelline layer only, and not for holes made by sperm that entered the ovum.
6. Stain the samples
Using an automated P20 pipette (e.g. Gilson), pipette approximately 10µl of Hoechst working solution onto both the germinal disc sample and perivitelline layer section on the microscope slide. Cover with a glass coverslip and place somewhere dark (e.g. drawer or box) at room temperature for 5 minutes to allow the dye to penetrate the sample.
7. Searching for cells
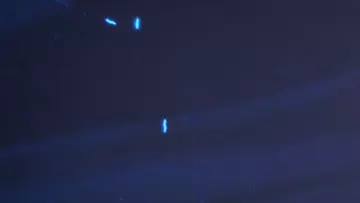
Using a compound light microscope with a fluorescence light source and darkfield filter enabled, search the microscope slide systematically using 200x or 250x magnification. Cells containing DNA will fluoresce bright blue. If sperm cells reached the egg, they will be trapped within the outer perivitelline layer. Their heads (which contain the cell nucleus with the DNA) will stain bright blue; their tails will not stain blue because they do not contain DNA, but they can be seen by using a brightfield light source with darkfield filter. If sperm penetrated the inner perivitelline layer to enter the ovum, holes (or penetration points) made by them can be seen in the inner perivitelline layer using darkfield. If fertilisation occurred (i.e., a sperm pronucleus fused with the female pronucleus and embryogenesis started), embryonic cells will be located within the germinal disc. Embryonic cells can often also be found adhering to the perivitelline layer that overlaid the germinal disc.
Video Demonstration
In order to carry out the protocols described on this site, you will need the following materials and equipment:
Materials
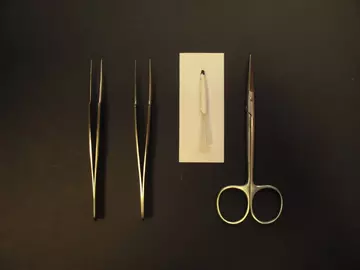
Dissecting kit: Fine forceps x 2, dissecting scissors, hair loop*
3-4 petri dishes
Automated pipettes (e.g. Gilson, P20 and P200)
Correctly sized pipette tips
Microscope slides
Glass coverslips
Phosphate buffered saline solution**
Hoechst 33342 fluorescent DNA stain . Can be purchased from most scientific suppliers.
Eppendorf tubes / screw-tip microcentrifuge tubes
Equipment
Stereomicroscope (dissecting microscope) with gooseneck lighting. We use Leica S6 D and MZ7 stereomicroscopes.
Compound light microscope with the following: a fluorescence light source, BP 340-380 excitation filter and LP 425 suppression filter, and darkfield filter. We use a Leica DMLB FL and a Leitz Laborlux S.
Refrigerator for storing Hoechst and samples prior to examination.
*The hair loop is a homemade device, consisting simply of a strand of human hair, fashioned into a small loop and taped to either a cocktail stick or pipette tip to allow easy manipulation. It is simple yet incredibly effective!
**Phosphate saline solution can either be purchased from a scientific supplier in ready made sachets or tablets to be added to distilled water, or it can be made from scratch using the following recipe. The latter is much cheaper if you intend to use a lot of solution over a long period of time, but the former is more convenient for small projects and remote working.
Phosphate buffered saline from scratch
For 2 litres solution:
- 2.3g di-sodium hydrogen orthophosphate
- 16g sodium chloride
- 0.4g potassium chloride
- 0.4g potassium di-hydrogen orthophosphate
- 2 litres distilled water
Salts are available to purchase from most scientific suppliers. Weigh out all salts (all come in powder form) and add to distilled water. Mix well until all salts have dissolved. Autoclave if sterility is required. Store in refrigerator at 1-5ºC.
These resources were created by the following researchers at the Institute of Zoology and University of Sheffield, supported by funding from the Royal Society, NERC, and ZSL. The resources are designed to complement a published review of hatching failure in birds in Animal Conservation. If you refer to these methods and protocols in your own work, please cite the original paper that these resources are linked to.
Katherine Assersohn
Email Katherine
Patricia Brekke
Email Patricia
Ashleigh Marshall
Fay Morland
Please feel free to get in contact with any questions or feedback.
